Validating NovaX Setup
Verifying Struct Generation
To ensure NovaX has been configured correctly, the most straightforward method is to put it to the test.
Suppose you've placed the pair.abi.json from xExchange inside the .novax/abis directory. On executing the cargo build command, NovaX will generate a PairContract struct that corresponds to the xExchange's pair contract.
Here's a simple validation procedure:
- In any Rust file, like
lib.rs,main.rs, etc., add the following code snippet:
extern crate novax;
use novax::pair::pair::PairContract;

async fn hello() {
   let _pair_contract = PairContract::new("");
}- Now, try to compile the code.
If the code compiles without any errors, congratulations! It signifies that NovaX has been successfully set up in your project.
Note: Do not attempt to run the code, as it will lead to an error. The purpose of this snippet is solely to check its compilation.
Testing Autocompletion
Autocompletion is a handy feature that boosts your productivity by suggesting relevant code snippets as you type. Let's ensure this is working for the generated structures.
-
Autocompletion Test: After the successful setup in the previous step, along with the
PairContract, aPairContractQuerystruct should also be generated. Start typingPairContrin your Rust file. Your IDE should offer autocompletion, suggesting thePairContractQuery: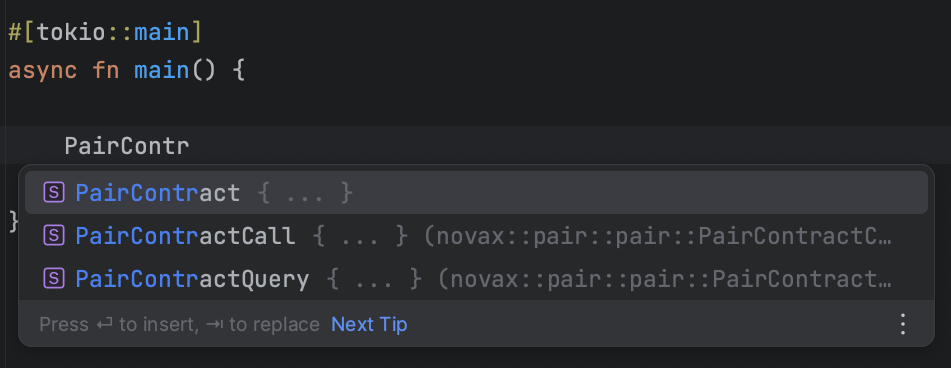
If you witness the autocompletion in action, then everything's set! You can proceed to the next chapter.
However, if the autocompletion is missing:
-
Clear Cargo Cache: Execute
cargo cleanin your terminal to remove the cached files. -
Rebuild Project: Run
cargo buildto rebuild the project. -
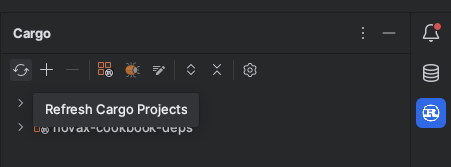
Re-index your project: This step often fixes autocompletion issues. While it isn't always necessary in VSCode, it's sometimes required in JetBrains IDEs like IntelliJ or CLion. Open the cargo panel on the right and click on the refresh button.